


How to Paint a Shipping Container?
How to Paint a Shipping Container?
Shipping containers will show indications of wear over time, but did you know that painting your shipping container reduces corrosion? So how do you paint your shipping container properly? There are a few steps and ways to do it. Since rust isn’t very appealing to look at, the paint will cover the corroded areas and give them a cleaner look. However, you actually don’t need to paint your shipping container because letting the steel rust naturally will strengthen it over time. Still, it gives your shipping container a personal touch while making it look attractive.
Types of Paints for
Shipping Containers
There are a few types of paint you can use to coat your shipping container, but marine-grade is the most recommended by contractors in the United States. Marine-grade paint is extremely durable and will give your shipping container quality protection from elements like the Corten steel used to build your container. Marine-grade paint is also painted onto your container when it is made.
Here are other options if you don’t have access to marine-grade paint.
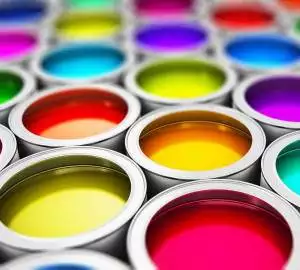
Water-borne paint is the best choice if you’re looking for environmentally-friendly paint. It has fewer VOC (volatile organic compounds) levels and gives your container a clean, uniform exterior. Additionally, with proper quality management and preparation, it becomes alike or better than oil-based systems.
Polyurethane paint is usually the best option for industrial use because it lasts longer and will save expenses in the long run. However, while polyurethane is heavy-duty and longer-lasting than industrial enamel, it has hazardous chemicals and requires a unique process for mixing and application. Therefore, if you need polyurethane, as in a special-case scenario, consult a professional for its utilization.
Industrial Alkyd Enamel paint is an alternative option. Its glossy finish will last up to ten years, and it’s affordable.
Acrylic paint is best if you want to paint a mural on your container. This idea is trending with the young ones. Though acrylic paint will not shine and last as long as alkyd enamel, it has more glorious colors, and additional layers adhere better. Also, acrylic paint is easier to layer with new colors or art.
Cost to paint a shipping container
The cost of painting your shipping container will depend on its size. Ordinarily, a 20-foot container requires three to 20 liters of paint, 35 liters for a 40-foot container if you opt to paint your container with a roller or a brush. Spray painting will save more paint and time. Professional labor will cost you at least $15,000, and the cost for a container unit ranges from $25,000 to $40,000. However, if you choose to paint your unit yourself, one liter of paint will cost around $18 to $40. With that, you can expect to spend only about $300 to $1400.
Now, how do you paint your shipping container correctly?
Prepare the Surface

You need to prepare your container’s exterior before painting it to ensure the best results. The most common way to prepare metal for painting is to sandblast it, but this is not advisable. Sandblasting your container can remove the marine-grade paint and the additional protective layer of zinc that the container was coated with. Other than that, it can be pretty expensive.
Instead of sandblasting, pressure wash your container’s exterior to remove loose paint chips, dirt, and debris. Cleaning it twice to make sure you’ve cleaned the entire unit is best. This ensures an even base for you to paint on. If you find any spots with rust, you can clean them with a steel brush and sandpaper and apply vinegar. Give your container at least a day to try. Once your container is dry, you can start applying your primer.
Apply Primer
Before anything else, make sure that the day you choose to paint your unit will have a dry and sunny morning. Wet days can deter your primer and paint from setting correctly. Even if you paint your container on a hot afternoon, it still risks being covered in moisture before the primer or paint sets. Seldom water gets trapped under the paint’s surface resulting in ugly pouches that look like blisters. After deciding the perfect morning to prime and paint your container, inspect thoroughly that your container is dry. Now, you can prime your container.
Applying primer is the same as preparing your canvas before painting a portrait. It would help if you asked your prime vendor how long it takes for your primer to dry before applying the paint. It would be best to wait an entire day.
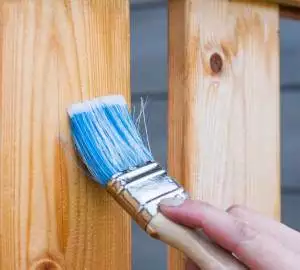
Applying Paint to Shipping Containers

After the primer has set, you can now paint your container. You can roll or spray your preferred paint onto your container. For best results and an even longer-lasting look, you can apply a top coat to prevent your paint from fading after painting the container’s entire exterior. You can select a glossy or matte coat, depending on your preference.
So whatever type of paint you choose to coat your container, you only have three steps to follow to ensure you have the best results for your container’s look. Whether you plan to use your container as a storage unit, home, office, or shop, you can cut back on your expenses as long as you manage and maintain your container correctly.